
Cortana is a personal virtual assistant developed by Microsoft that can help you perform various tasks. And like many other virtual assistants such as Alexa, Siri, and Google Assistant, it can help you get things done while you are busy with other things. But if you are the type who likes to have more control over the stuff you do in Windows and don’t want to rely on a virtual assistant, then it’s best to disable it. Just follow the steps below to disable Cortana in Windows 10.
Method 1: Disable Cortana in Windows 10 Using Registry File
One of the easiest ways to disable Cortana without delving into the complicated registry entry process is by simply using downloadable .reg file.
1. Download the Disable_Cortana.reg file.
Note: You may get this warning “This type of file can harm your computer” on your browser. You can safely ignore the message and select Keep to download the file.
2. Once you download the file, you can either right-click on the file and select merge or double-click the file to open it.
3. If Security Warning windows pop up, click on Run.

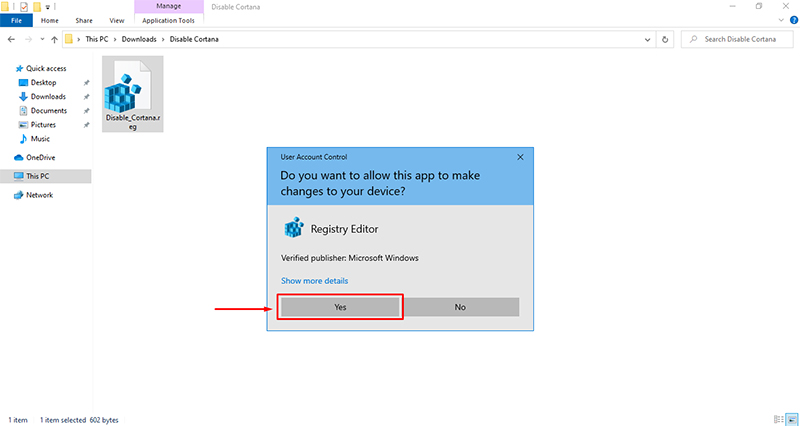
4. Now click Yes on the User Account Control window.
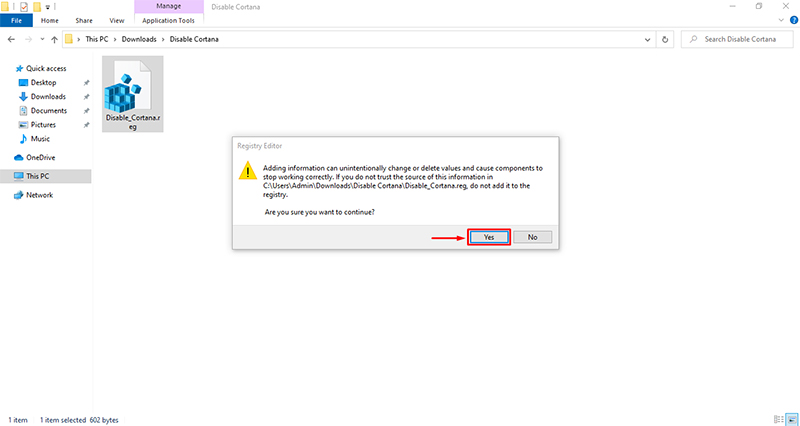
5. Click Yes on the Registry Editor window.
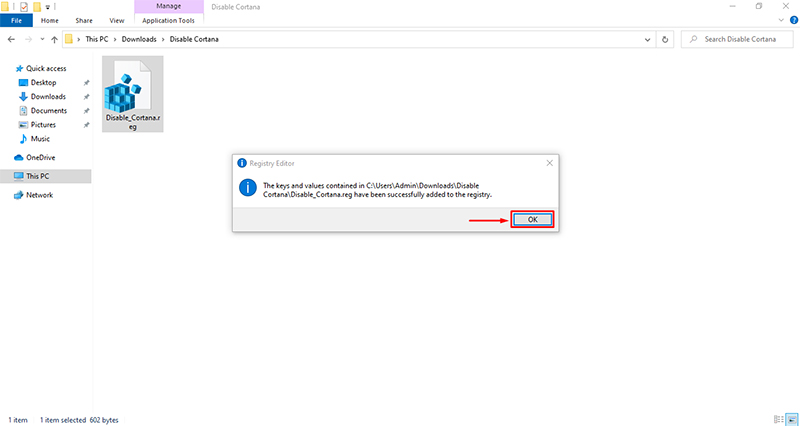
6. You’ve successfully added the registry file. Now click OK on the Registry Editor window with the confirmation message.
7. Restart your computer, and now Cortana will be disabled on your Windows 10.
Method 2: Disable Cortana in Windows 10 Using Windows Registry
If you are not comfortable downloading and running a .reg file, you should follow this method. It’s similar to the above method, but instead of using a premade .reg file, we will manually add a new entry to Windows Registry. Here’s how to disable Cortana in Windows 10 using Windows Registry:
1. (a) Press the Windows key and R key on your keyboard simultaneously, then type regedit in the Run dialogue box.

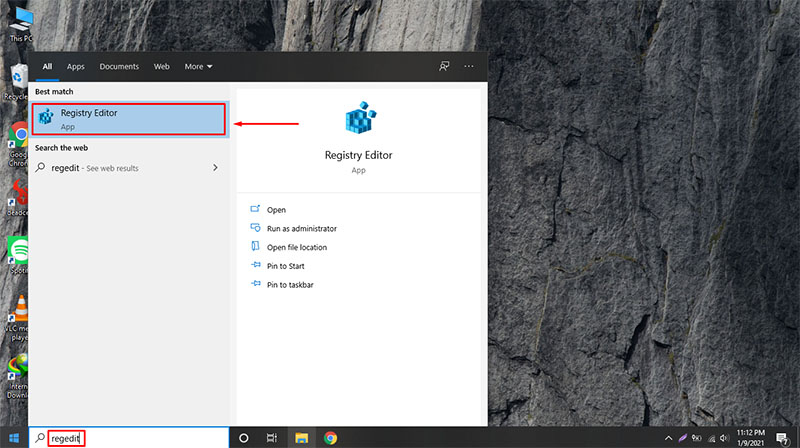
(b) Or search for Registry Editor by typing regedit on the Start menu.
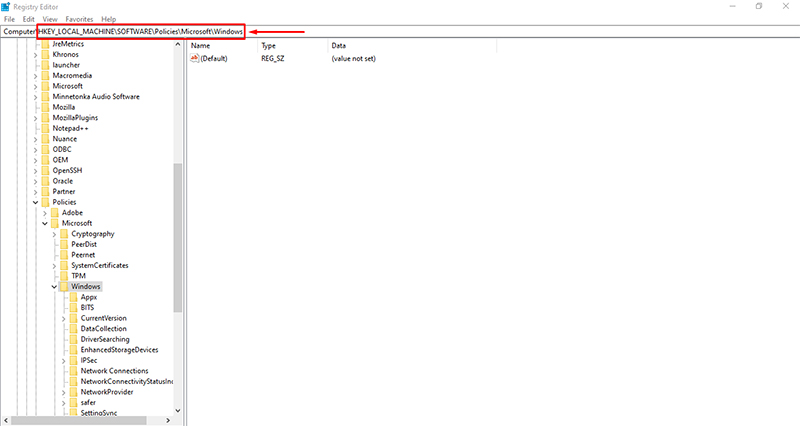
2. In the Registry Editor window, navigate to the following: HKEY_LOCAL_MACHINE\SOFTWARE\Policies\Microsoft\Windows
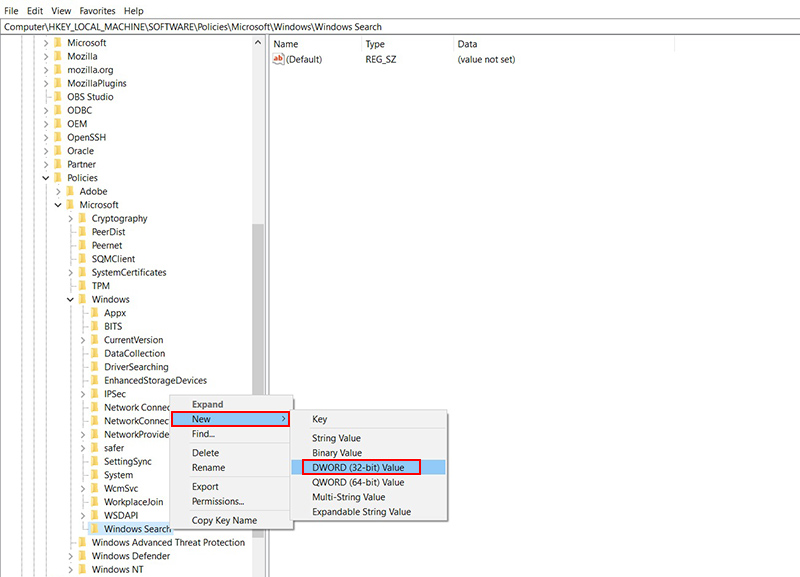
3. Now right-click on the Windows directory and select New and then select Key.

4. Name this directory as Windows Search.

5. Now right-click on the Windows Search directory and select New and then select DWORD (32-bit) Value.
6. Rename it as AllowCortana, then right-click or double click on it and modify the value to 0.
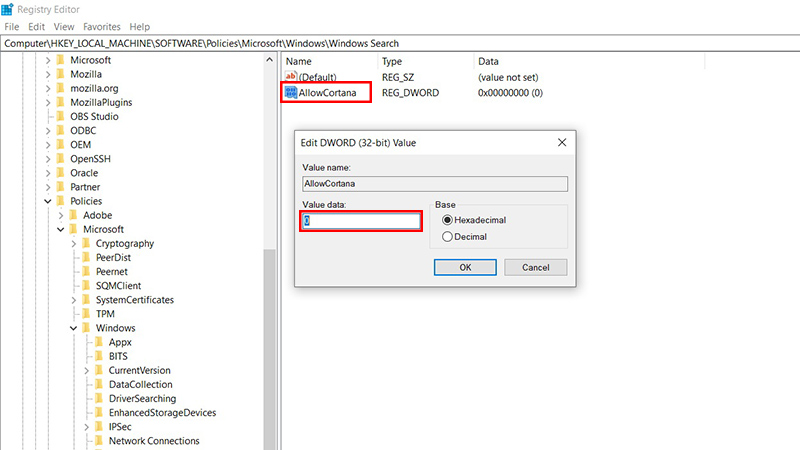
7. Select OK and restart your PC for changes to take effect.
Method 3: Disable Cortana in Windows 10 Using the Group Policy Editor
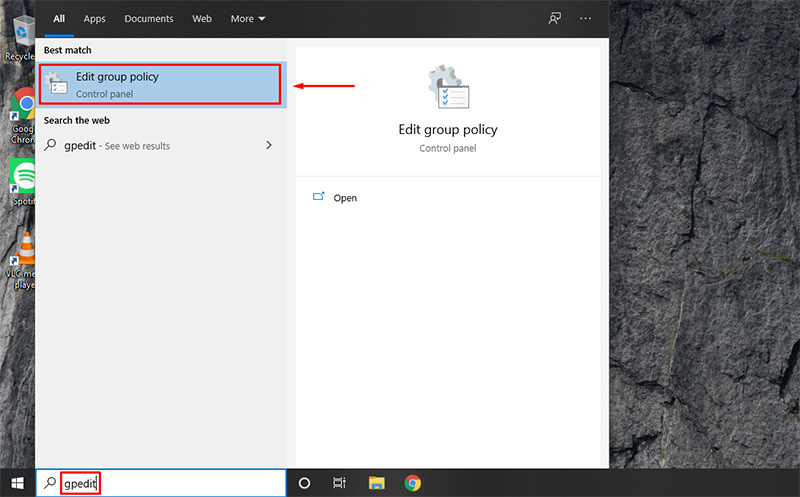
1. (a) Press the Windows key and R key on your Keyboard simultaneously, then type gpedit.msc in the Run dialog box.

(b) Or search for Group Policy Editor by typing gpedit on the Start menu.
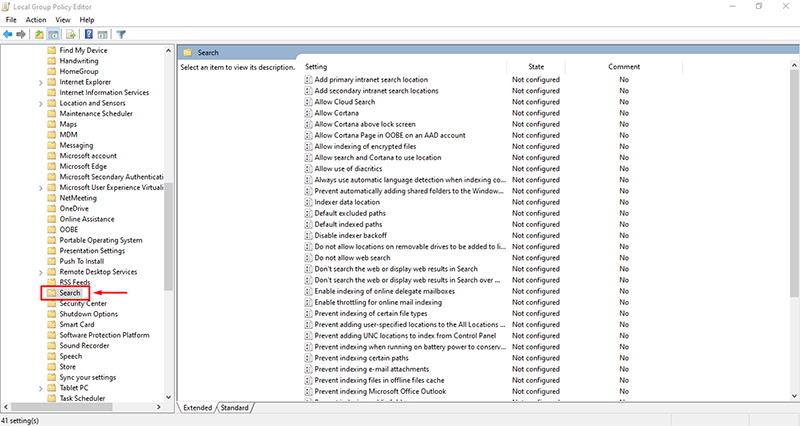
2. In the Policy Editor window, navigate to the following: Computer Configuration > Administrative Templates > Windows Components > Search.
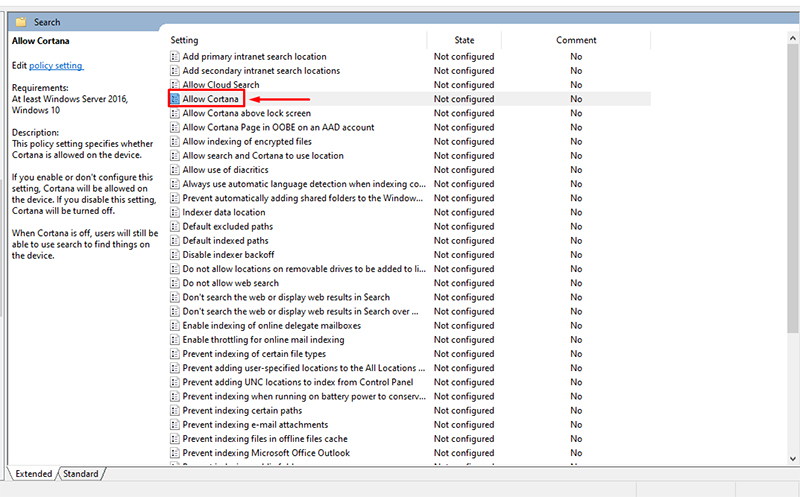
3. Now locate Allow Cortana. Double click or right-click on it and select Edit.
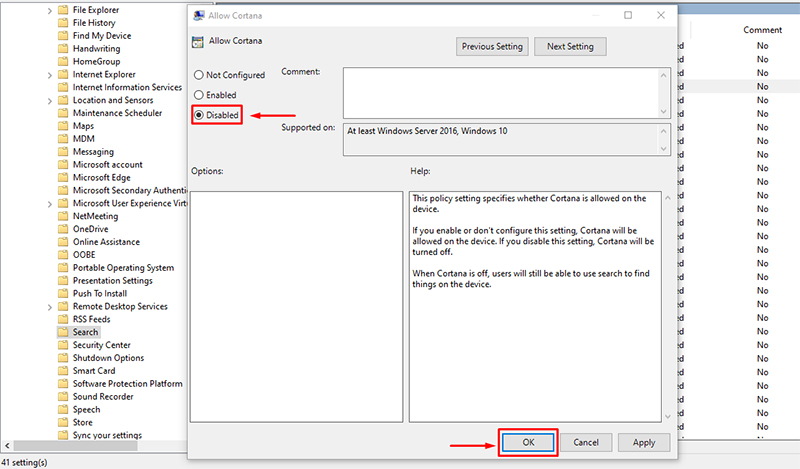
4. In the Edit dialog box, select Disabled and then select OK.
5. Now close the Group Policy Editor and restart the PC. Cortana will now be disabled.