Does text on your monitor screen looks slightly off or a bit fuzzy. The first thing you should do is turn on Windows ClearType. If that doesn’t solve your problem, then depending on the DPI scaling that your system has set by default, many programs that aren’t supposed to run high resolution can cause this problem to arise. Fortunately, Windows 10 includes a font smoothing feature to make the text on your PC look much better and easy to read.
The below guide will show you how to enable or disable font smoothing in Windows 10.
Method 1: Enable or Disable Font Smoothing Using Visual Effects in Performance Options
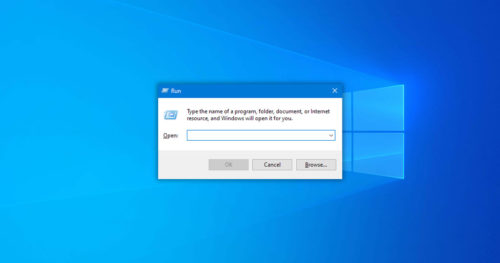
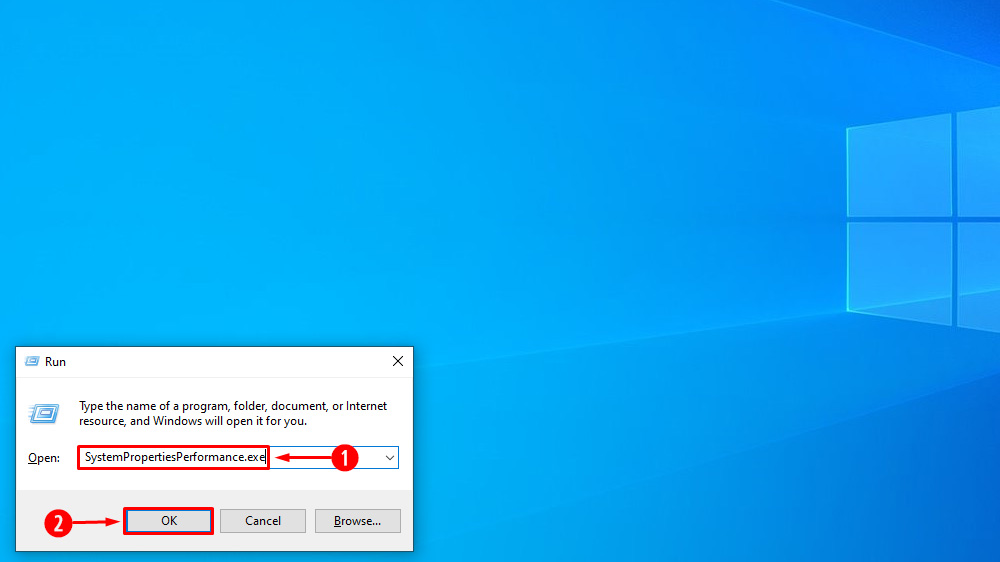
1. Open the Run dialog box, type SystemPropertiesPerformance.exe, and click OK.
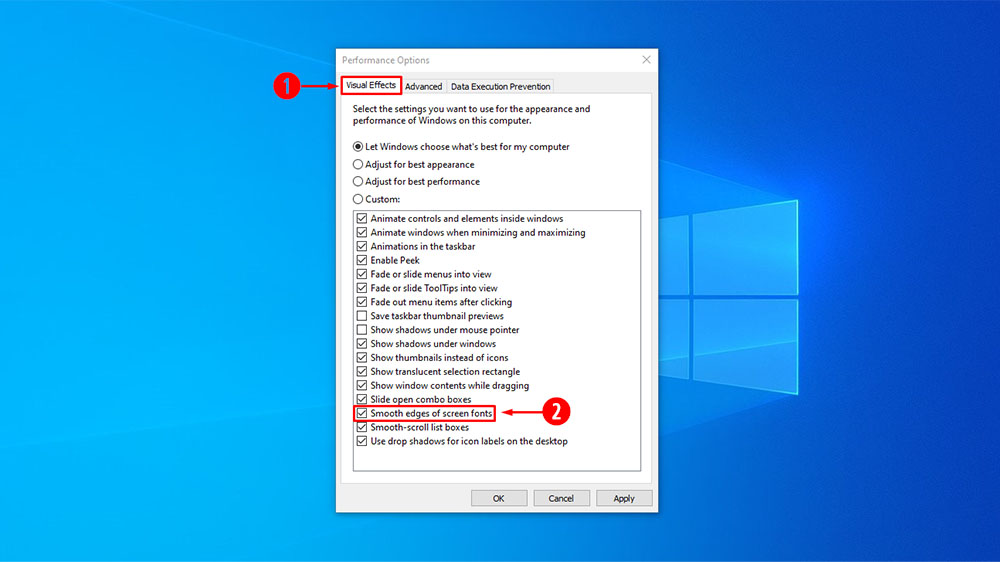
2. In the Performance Options, under Visual Effects, look for Smooth edges of screen fonts.
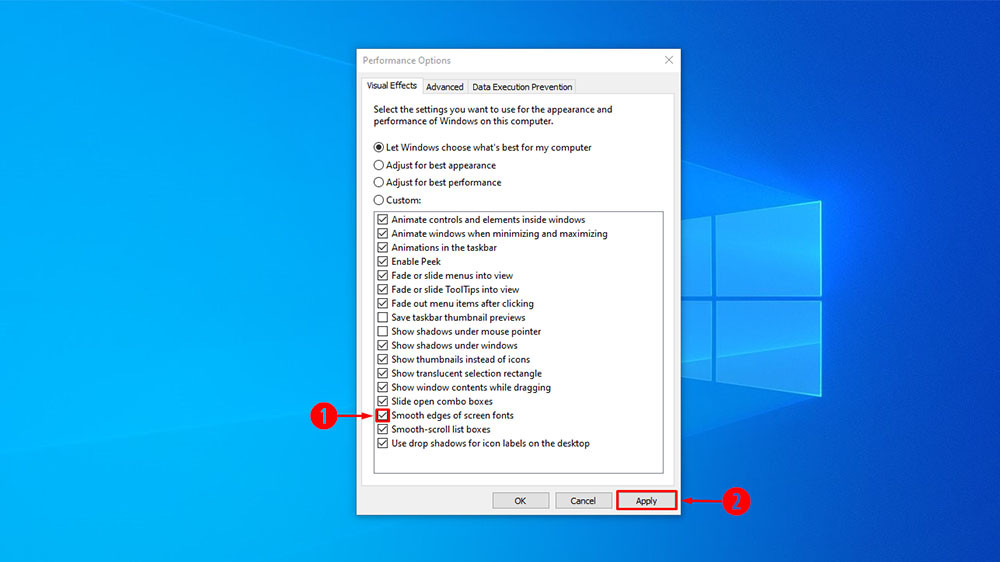
3. Click on the check (enabled by default) or uncheck if you want to disable it and click on Apply for it to take effect.
Method 2: Enable or Disable Font Smoothing Using REG File
To Enable Font Smoothing
1. Download the Enable_Smooth_edges_of_screen_fonts.reg file.
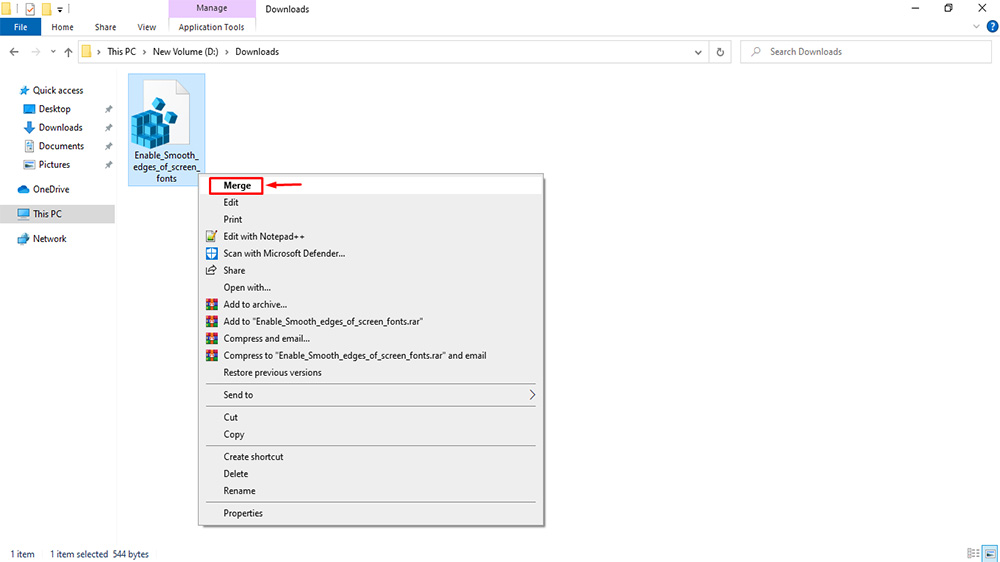
2. Once you download the file, you can either right-click on the file and select merge or double-click the file to open it.
3. If Security Warning windows pop up, click on Run.

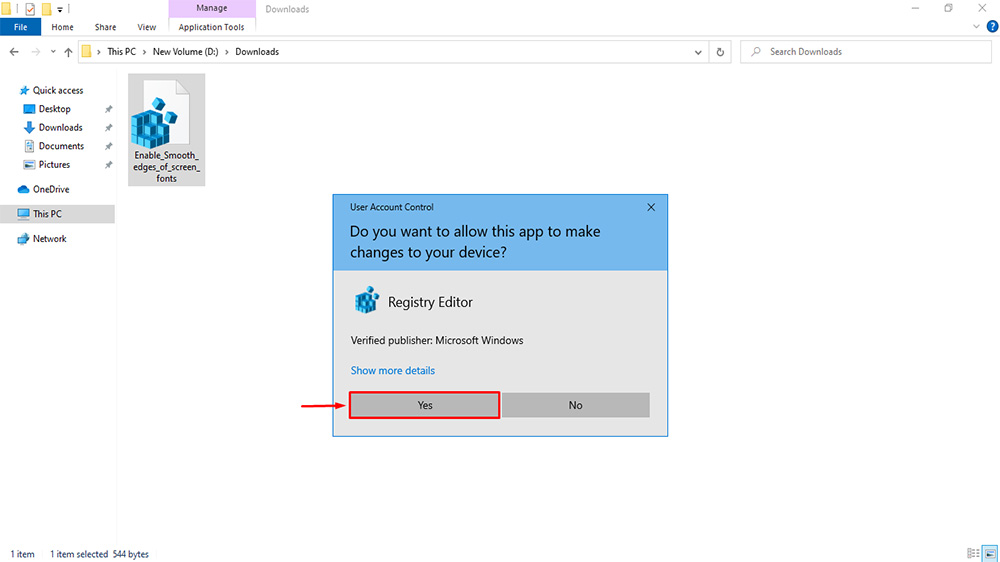
4. Now click on Yes in the User Account Control window.
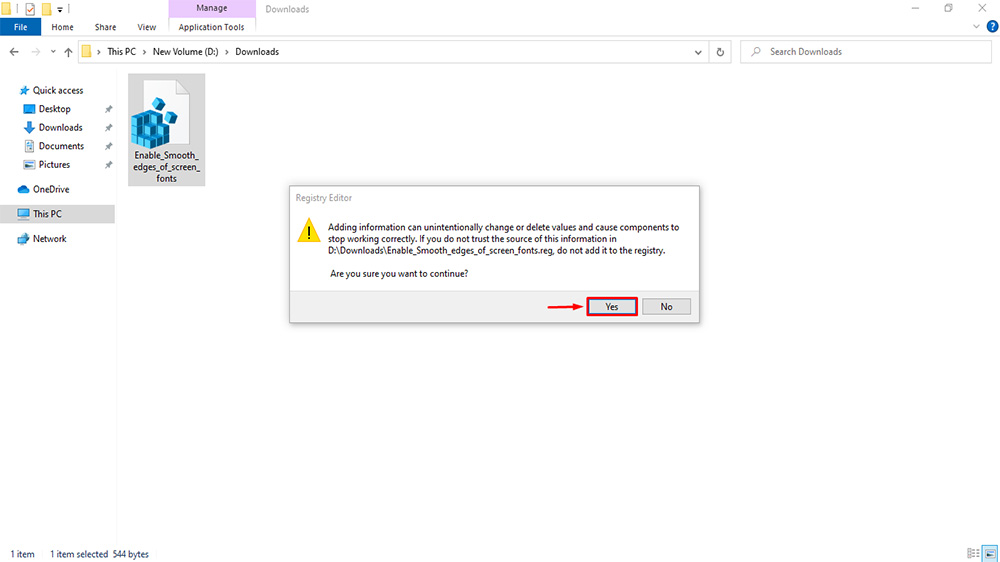
5. Click Yes on the Registry Editor window.
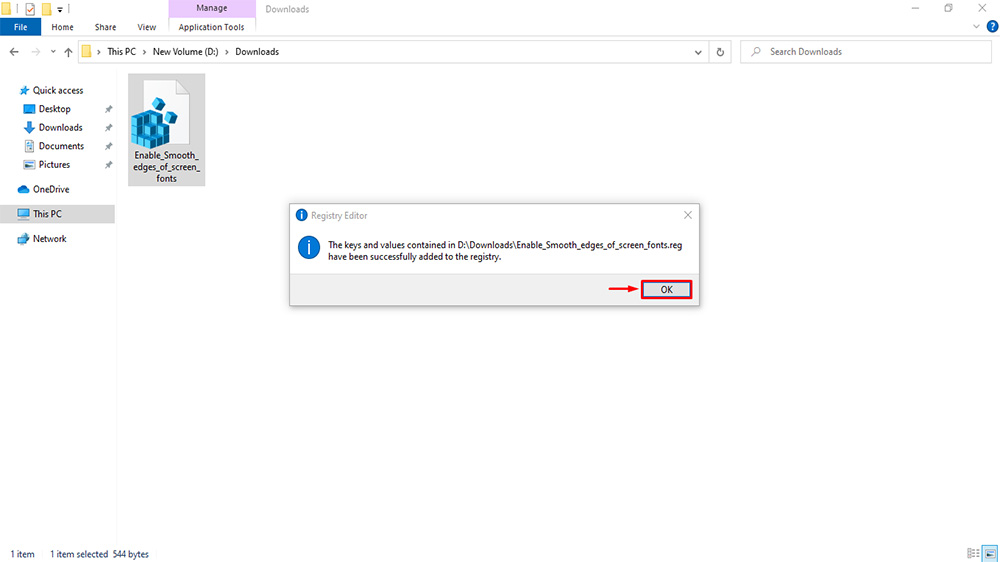
6. Now click OK on the Registry Editor window with the confirmation message. With this, Font Smoothing should be enabled.
To Disable Font Smoothing
1. Download the Disable_Smooth_edges_of_screen_fonts.reg file.
2. Repeat the above step and Restart your PC to apply the effect.