Windows Defender has been an integrated part of Microsoft’s operating system since Windows XP. Windows Defender or Windows Security is preinstalled antivirus tool that secures your computer from malware and several other exploits.
With Windows 10’s Anniversary Update, Microsoft has added a Windows Defender icon in the apps icon tray for easy accessibility. But, if you prefer less cluster in the icon tray and might want to remove it, but don’t know how to do that? This post will help you.
Method 1: How to Hide or Show Windows Security Notification Icon using Startup Settings
1. Click on Start Menu and click on the Settings icon.
2. In Settings, click on Apps.
3. Under Apps, click on Startup.
4. Now look for the Windows Security notification icon.
5. If you want to hide the icon, then turn it Off or if you want the icon to appear again, turn it On.
6. Now close the Settings and Restart the PC to apply the effect.
Method 2: How to Hide or Show Windows Security Notification Icon using Task Manager
1. Right-click on the Taskbar and click on Task Manager.
2. In Task Manager, click on Startup.
3. Now look for the Windows Security notification icon. It’d be enabled by default.
4. To hide the icon, click on Disable button or click on Enable if you want the icon back again.
5. Now restart your PC to apply the effect.
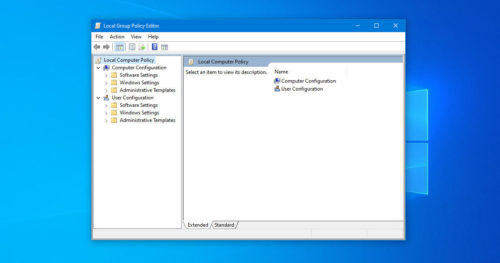
Method 3: How to Hide or Show Windows Security Notification Icon using Group Policy Editor
Note: Group Policy Editor app is only available for Windows 10 Pro, Enterprise, or Education edition. This method will not work for Windows 10 Home users.
1. Search for Group Policy Editor by typing gpedit.msc on the Start menu.
2. Once Group Policy Editor opens, navigate to the following path: Computer Configuration > Administrative Templates > Windows Components > Windows Security > Systray.
3. In Systray, select Hide Windows Security Systray and click on Edit policy setting.
4. Select Enabled to hide the icon. Select Not Configured or Disabled to display the icon again. And then click OK.
5. Once that is done, Restart your PC to apply the effect.
Method 3: How to Enable or Disable Windows Security Notification Icon using a REG File
To hide the Windows Security notification icon
1. Download the Disable_Windows_Security_notification_icon_for_all_users.reg file.
2. Once you download the file, you can either right-click on the file and select merge or double-click the file to open it.
3. If Security Warning windows pop up, click on Run.
4. Now click on Yes in the User Account Control window.
5. Click Yes on the Registry Editor window.
6. Now click OK on the Registry Editor window with the confirmation message. With this, the Windows Security notification icon should be disabled.
To show the Windows Security notification icon
1. Download the Enable_Windows_Security_notification_icon_for_all_users.reg file.
2. Repeat the above step and Restart your PC to apply the effect.