If you use multiple monitor setup on Windows 10, you will notice that most programs open in a specific monitor and need to be dragged to your preferred monitor. That one specific monitor is set as the main display and will have the taskbar’s notification area. However, if you want to change the main display, you can easily do it by clicking a few buttons in the Display settings. In this article, we share the steps on how to change the primary monitor in Windows 10
How to Set a Display as Main Display in Windows 10:
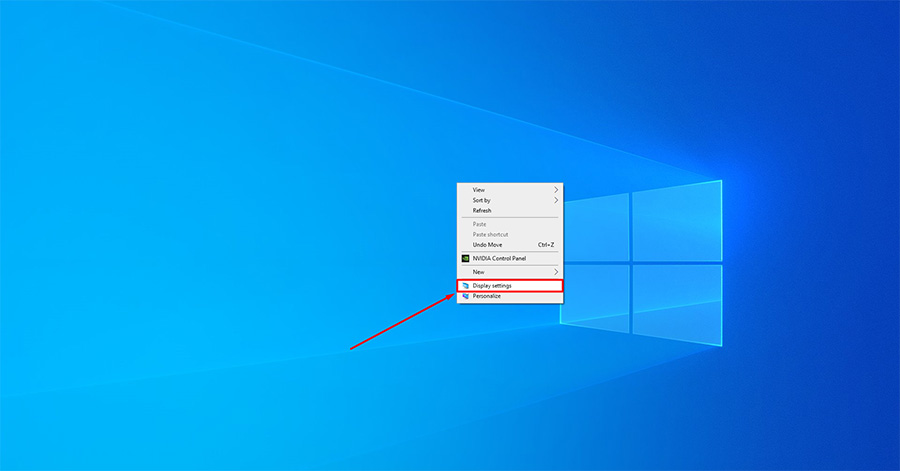
1. Right-click on the desktop and select Display settings.
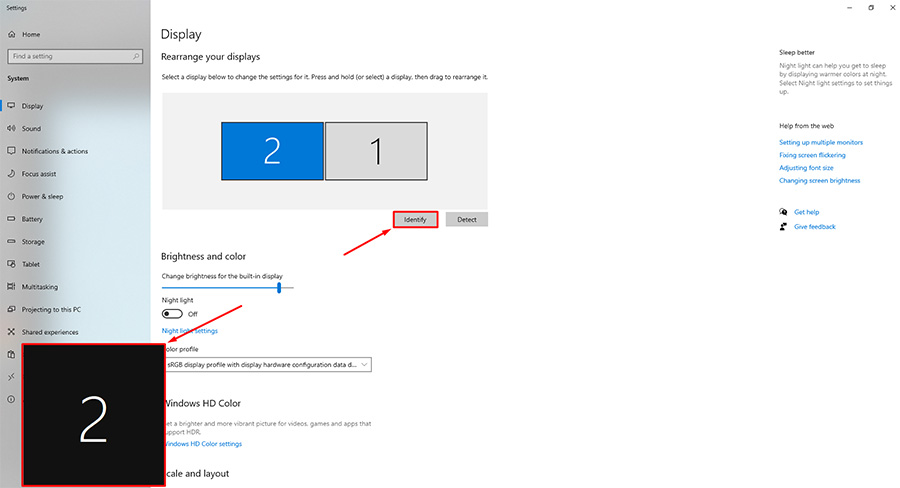
2. Click on the Identify button, which will show a number on all your monitors to make it easy to select the monitor in the next step.
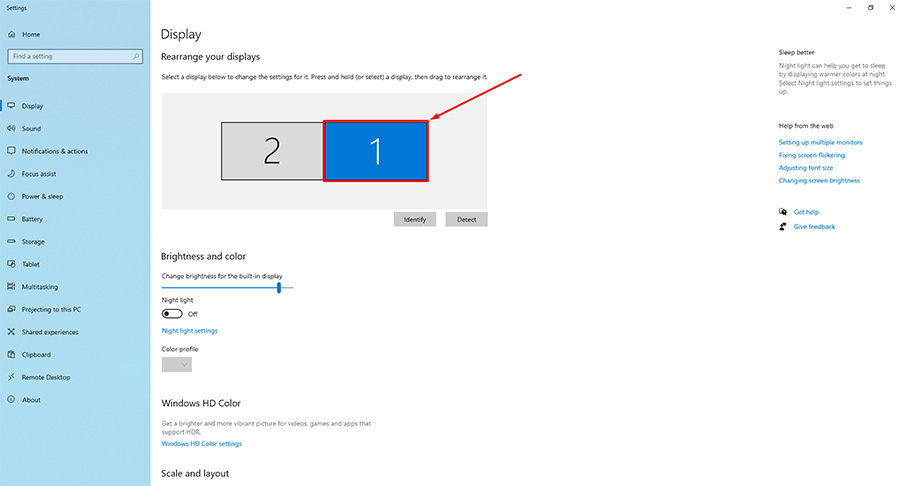
3. Select the monitor number you want as your main display.
4. Scroll down and under the Multiple displays section, tick the Make this my main display checkbox. And done, you have successfully changed your primary display monitor.

Note: Make sure you have selected Extend these displays in the Multiple displays drop-down menu, or else the Make this my main display checkbox will be grayed out.